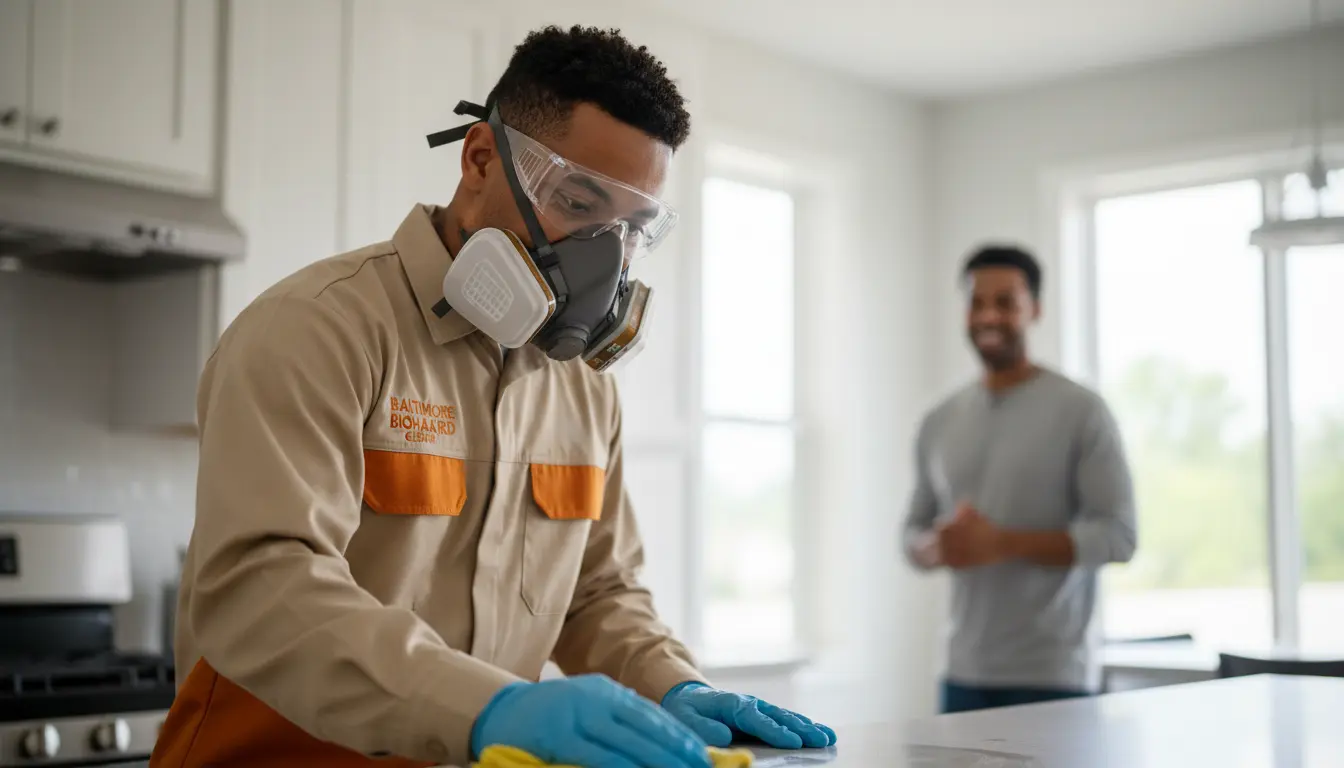
When you know how to prepare a property for professional biohazard remediation, you reduce cross-contamination risk, protect yourself from bloodborne pathogens, and ensure that the restoration crew can begin work immediately rather than spending precious time clearing obstacles. This guide, grounded in IICRC S540 standards and Baltimore-specific environmental conditions, walks you through every step of the pre-remediation process.
Understanding the Scope Before You Touch Anything
The first and most critical step in knowing how to prepare a property for professional biohazard remediation is understanding what you are facing. Biohazard scenarios vary widely. A trauma scene involving bloodborne pathogens requires a different approach than a sewer backup remediation affected by Baltimore’s aging infrastructure. An unattended death in a poorly ventilated basement presents different challenges than a hoarding situation with years of accumulated biological waste.
Before any physical preparation begins, you must obtain a professional assessment. Certified remediation specialists use adenosine triphosphate testing and visual inspections to map the affected zones. This assessment determines the category of biohazard and the required level of personal protective equipment. Never attempt to self-diagnose a scene. The Top Risks Of Diy Biohazard Cleanup And How To Avoid Them include exposure to hidden pathogens and improper waste disposal, both of which can lead to long-term health consequences.
Initial Risk Assessment Protocol
The crew will conduct a walkthrough to identify all contaminated materials, including porous items like carpet, drywall, and upholstery that may require removal. They will also assess the HVAC system, as airborne pathogens can travel through ductwork and contaminate adjacent rooms. In Baltimore rowhomes where shared walls are common, this assessment must account for the potential of odor migration into neighboring units.
Once the assessment is complete, the team will establish containment zones using polyethylene sheeting and negative air machines. This prevents cross-contamination to unaffected areas of the property. Your role in preparation ends once the containment is set. Do not move or disturb the barriers.
Securing the Site and Restricting Access
One of the most overlooked aspects of how to prepare a property for professional biohazard remediation is site security. After a traumatic event or biohazard incident, the property becomes a potential hazard zone. Unauthorized individuals, including curious neighbors, well-meaning family members, or even pets, must be kept out. Exposure to bloodborne pathogens like hepatitis B or C can occur through contact with contaminated surfaces.
Lock all doors leading to the affected area. If the property uses a shared entrance common in Baltimore apartment buildings, coordinate with building management to secure that entrance. Post clear signage indicating the presence of biohazardous materials. The remediation team will bring their own warning signs, but having the area cordoned off beforehand expedites the process. For properties requiring Emergency Biohazard Cleanup 24 7 Help For Baltimore Residents, this step is often handled by the first responders, but you should confirm with the remediation company.
Documenting the Scene for Insurance and Records
Before the crew arrives, take photographs of the affected areas from multiple angles. This documentation serves two purposes: it provides your insurance company with visual evidence of the extent of contamination, and it gives the remediation team a baseline for their work. Do not touch or move any items that appear to be evidence in a crime scene. Coordinate with law enforcement before allowing cleanup to begin. The Step By Step Biohazard Cleanup After Trauma Incidents process always begins with official clearance from authorities.
Store the photographs securely. You may need to share them with your insurance adjuster or with the remediation company for their pre-work assessment. Never share images of sensitive scenes on social media or with unauthorized parties.
Removing Non-Contaminated Belongings and Valuables
In many biohazard scenarios, not every item in the room is contaminated. Personal belongings, documents, and valuables that are outside the immediate contamination zone can be removed and stored safely. This step requires extreme caution. You must be certain that these items have not been exposed to any biological material, airborne pathogens, or lingering odors.
Wear disposable gloves and a mask when handling any items from the general vicinity. Place them in sealed plastic bins or bags. Do not use cardboard boxes, as porous materials can absorb odors and pathogens. Label each container clearly. If you are unsure whether an item is contaminated, leave it in place. The remediation team will assess it during their structural decontamination process. Removing contaminated items without proper containment can spread pathogens throughout your home.
Porous vs. Non-Porous Materials
Understanding the difference between porous and non-porous materials is essential when you learn how to prepare a property for professional biohazard remediation. Porous materials like carpet, padding, drywall, insulation, and upholstered furniture absorb biological fluids and odors. These items are almost always removed and disposed of as biohazardous waste. Non-porous materials like glass, metal, and hard plastics can be cleaned and disinfected using EPA-registered hospital-grade disinfectants.
If you have the authority to do so, remove all loose items that are clearly non-porous and uncontaminated. This gives the remediation team clear access to contaminated surfaces. However, never attempt to clean non-porous items yourself. Surface decontamination requires specific contact times and chemical concentrations that only trained professionals can achieve.
Shutting Off HVAC and Isolating the Environment
HVAC systems are one of the primary vectors for spreading biological contaminants throughout a property. In Baltimore, where older homes may have outdated or poorly maintained ductwork, the risk of cross-contamination through the ventilation system is significant. Before the remediation team arrives, turn off the HVAC system serving the affected area. This stops the circulation of airborne pathogens and prevents odor from traveling to other rooms.
If the property has a forced-air system, close all supply and return vents in the contaminated zone. The remediation crew will use negative air pressure machines with HEPA filtration to create a controlled environment. They may also seal off the ductwork temporarily. Do not attempt to run the HVAC system during remediation, as this can redistribute pathogens and increase the scope of contamination. The Property Biohazard Restoration process typically includes a thorough duct cleaning after the initial remediation is complete.
Managing Odor Migration in Shared Structures
Many Baltimore properties, particularly rowhomes, share common walls and ventilation shafts with neighboring units. If the biohazard incident occurred in a multi-unit building, notify adjacent tenants about the potential for odor migration. They may need to seal their own vents or temporarily relocate. The remediation team can install temporary exhaust systems to vent contaminated air outside, away from shared spaces.
Odor molecules from decomposition can penetrate porous wall materials and remain detectable for weeks if not properly treated. Professional remediation uses ozone generators or hydroxyl generators to neutralize these odors at the molecular level. Preparing the property by ensuring that all interior doors are open (if safe to do so) allows the crew to treat the entire affected zone without obstruction.
Gathering Necessary Documentation and Access
When the remediation team arrives, they will need access to the entire property, not just the contaminated area. Ensure that all doors are unlocked, and if the property uses a key code or security system, provide the code to the crew leader in advance. Also, have the following documents ready: proof of ownership or authorization to perform remediation, insurance policy information, and any reports from law enforcement or emergency services.
The crew will also need access to water and electricity for their equipment. Identify the location of the main water shutoff valve and electrical panel. In some cases, the crew may need to disconnect utilities to safely remove contaminated materials. Having this information ready saves time and reduces the risk of delays. For properties that require Trauma Scene Remediation, the coordination with law enforcement often involves multiple parties, so clear communication is essential.
Planning for Waste Disposal and Logistics
Biohazardous waste cannot go into regular trash or dumpsters. The remediation company will handle all waste disposal in compliance with Maryland Department of the Environment regulations and federal OSHA standards. However, you can prepare by clearing a path from the affected area to the nearest exit. The crew will need to transport sealed waste bags and contaminated materials out of the property.
If the property has narrow staircases or tight doorways common in Baltimore historic homes, inform the crew in advance. They may need to use alternative exit routes or remove window frames to extract large contaminated items like furniture or sections of drywall. Preparing the property by removing obstacles in hallways and stairwells allows the crew to work efficiently and safely.
Common Mistakes Property Owners Make
One of the most frequent errors in learning how to prepare a property for professional biohazard remediation is attempting to clean the scene with household products. Household bleach, while a common disinfectant, is not effective against all pathogens and can create toxic fumes when mixed with biological matter. Professional remediation uses EPA-registered hospital-grade disinfectants with proven kill rates for bloodborne pathogens, norovirus, and other biohazards.
Another mistake is allowing untrained personnel into the scene. Well-meaning family members or friends may enter to retrieve personal items, unaware of the invisible contamination. This exposes them to serious health risks and can invalidate insurance claims. The safest approach is to restrict all access until the remediation team has completed their work and performed final ATP testing to confirm the area is biologically safe.
Waiting for odors to dissipate naturally is another costly error. Biological decomposition produces gases like putrescine and cadaverine that can penetrate porous building materials permanently. Professional microbial remediation and structural decontamination are the only reliable methods for eliminating these odors and restoring the property to a habitable condition.
Pricing Considerations for Biohazard Remediation
- Site mobilization fee: Most remediation companies charge a standard mobilization fee to cover the cost of transporting equipment, PPE, and trained personnel to the property. This fee typically ranges from $300 to $800 depending on the distance and urgency of the response.
- Hourly remediation rates: The actual cleanup work is billed at hourly rates ranging from $150 to $300 per hour for a two-person crew. More complex scenes involving structural replacement or extensive contamination may require additional crew members and specialized equipment.
- Specialized waste disposal: Biohazardous waste must be transported in approved containers and incinerated at licensed facilities. Disposal costs vary based on the volume of waste, typically $50 to $150 per container or per bag.
- Structural material replacement: If the contamination has penetrated drywall, flooring, or subflooring, the cost of replacement materials and labor can add $500 to $5,000 or more. This is often the largest variable in the total cost.
- HVAC decontamination: If the HVAC system has been compromised, specialized cleaning and duct sealing can cost $500 to $2,000 depending on the size of the system.
Three factors that most influence the final cost are the total square footage of the affected area, the category of biological hazard (bloodborne pathogens require more intensive protocols than simple sewage), and the accessibility of the property. Historic rowhomes with narrow staircases or limited parking for the crew’s vehicle can increase labor time and therefore cost.
Safety Standards and Certifications
Professional biohazard remediation is governed by multiple regulatory frameworks. The IICRC S540 standard for Trauma and Crime Scene Cleanup outlines the specific procedures for cleaning, disinfecting, and restoring properties after biological contamination. All reputable remediation companies in Baltimore adhere to this standard. Additionally, OSHA’s Bloodborne Pathogens Standard (29 CFR 1910.1030) requires that all employees handling potentially infectious materials receive annual training on safe work practices, proper use of PPE, and emergency response procedures.
The Maryland Department of the Environment regulates the disposal of biohazardous waste. Licensed transporters must use approved containers and incinerators. Choosing a company that holds current certifications from the IICRC, OSHA, and the Maryland Department of the Environment ensures that your property is restored to a safe and habitable condition. For property managers and homeowners, verifying these certifications before hiring is a critical step in Why Choose Professional Biohazard Services In Baltimore.
Personal protective equipment for biohazard remediation includes full-body Tyvek suits, N95 or P100 respirators, face shields, and multiple layers of gloves. This equipment prevents direct contact with bloodborne pathogens and airborne contaminants. The crew will also use negative air machines to create a pressure differential that keeps contaminated air contained within the work zone. HEPA filters capture particulates down to 0.3 microns, effectively trapping viruses, bacteria, and spores.
Final clearance testing uses ATP fluorescence testing to verify that all biological material has been removed. A swab of the cleaned surface is tested for adenosine triphosphate, a molecule present in all living cells. If the reading is below a specific threshold, the area is considered safe for reoccupation. This objective measurement provides property owners with documented proof that the remediation was successful.
Frequently Asked Questions
How long does professional biohazard remediation typically take?
The duration depends on the extent of contamination. A single-room blood spill may be resolved in four to six hours, while a multi-room trauma scene or hoarding situation can take two to five days. The crew must allow sufficient time for disinfectants to achieve their required contact times, typically 10 to 30 minutes per application. Structural drying and odor neutralization may extend the timeline. The remediation company will provide a time estimate after the initial assessment.
Can I stay in my home during the remediation process?
In most cases, no. The affected area is under containment, and the use of negative air machines, chemical disinfectants, and ozone generators creates an environment that is unsafe for occupants. If the contamination is isolated to a single room with a separate entrance, you may be able to remain in other parts of the home, but the crew will likely recommend temporary relocation. For multi-unit properties, adjacent units may also need to be evacuated if shared HVAC systems are involved.
What happens to contaminated furniture and personal items?
Porous items like mattresses, upholstered furniture, carpets, and clothing that have been exposed to biological fluids are typically removed and disposed of as biohazardous waste. Non-porous items such as glass, metal, and hard plastics can be cleaned and disinfected on-site. The crew will document all items removed and provide you with a detailed inventory for insurance purposes. If you have sentimental items that may be salvageable, discuss this with the crew leader before work begins.
Is biohazard remediation covered by homeowners insurance?
Many standard homeowners insurance policies cover biohazard remediation as part of the property damage or liability provisions. However, coverage varies widely. Some policies exclude unattended death or trauma scenes unless specific riders are added. It is essential to contact your insurance agent immediately after the incident to confirm coverage. The remediation company can provide documentation and invoices to support your claim. For rental properties, landlord insurance policies may also cover remediation costs, but tenant negligence claims can complicate the process.
Final Thoughts
Knowing how to prepare a property for professional biohazard remediation is about more than just moving furniture out of the way. It involves securing the site, restricting access, understanding the behavior of biological contaminants, and coordinating with trained professionals who follow strict regulatory standards. The emotional weight of a trauma scene or biohazard incident is heavy enough without adding the burden of improper preparation. Working with a certified team ensures that the restoration is thorough, safe, and compliant with all local and federal regulations.
Baltimore Biohazard Cleanup provides 24/7 emergency response for residential and commercial properties throughout Baltimore City and County. Our technicians hold current IICRC and OSHA certifications and use advanced equipment including negative air machines, HEPA filtration, and ATP testing to deliver measurable results. When you need a trusted partner to restore your property to a safe and habitable condition, we are ready to help.